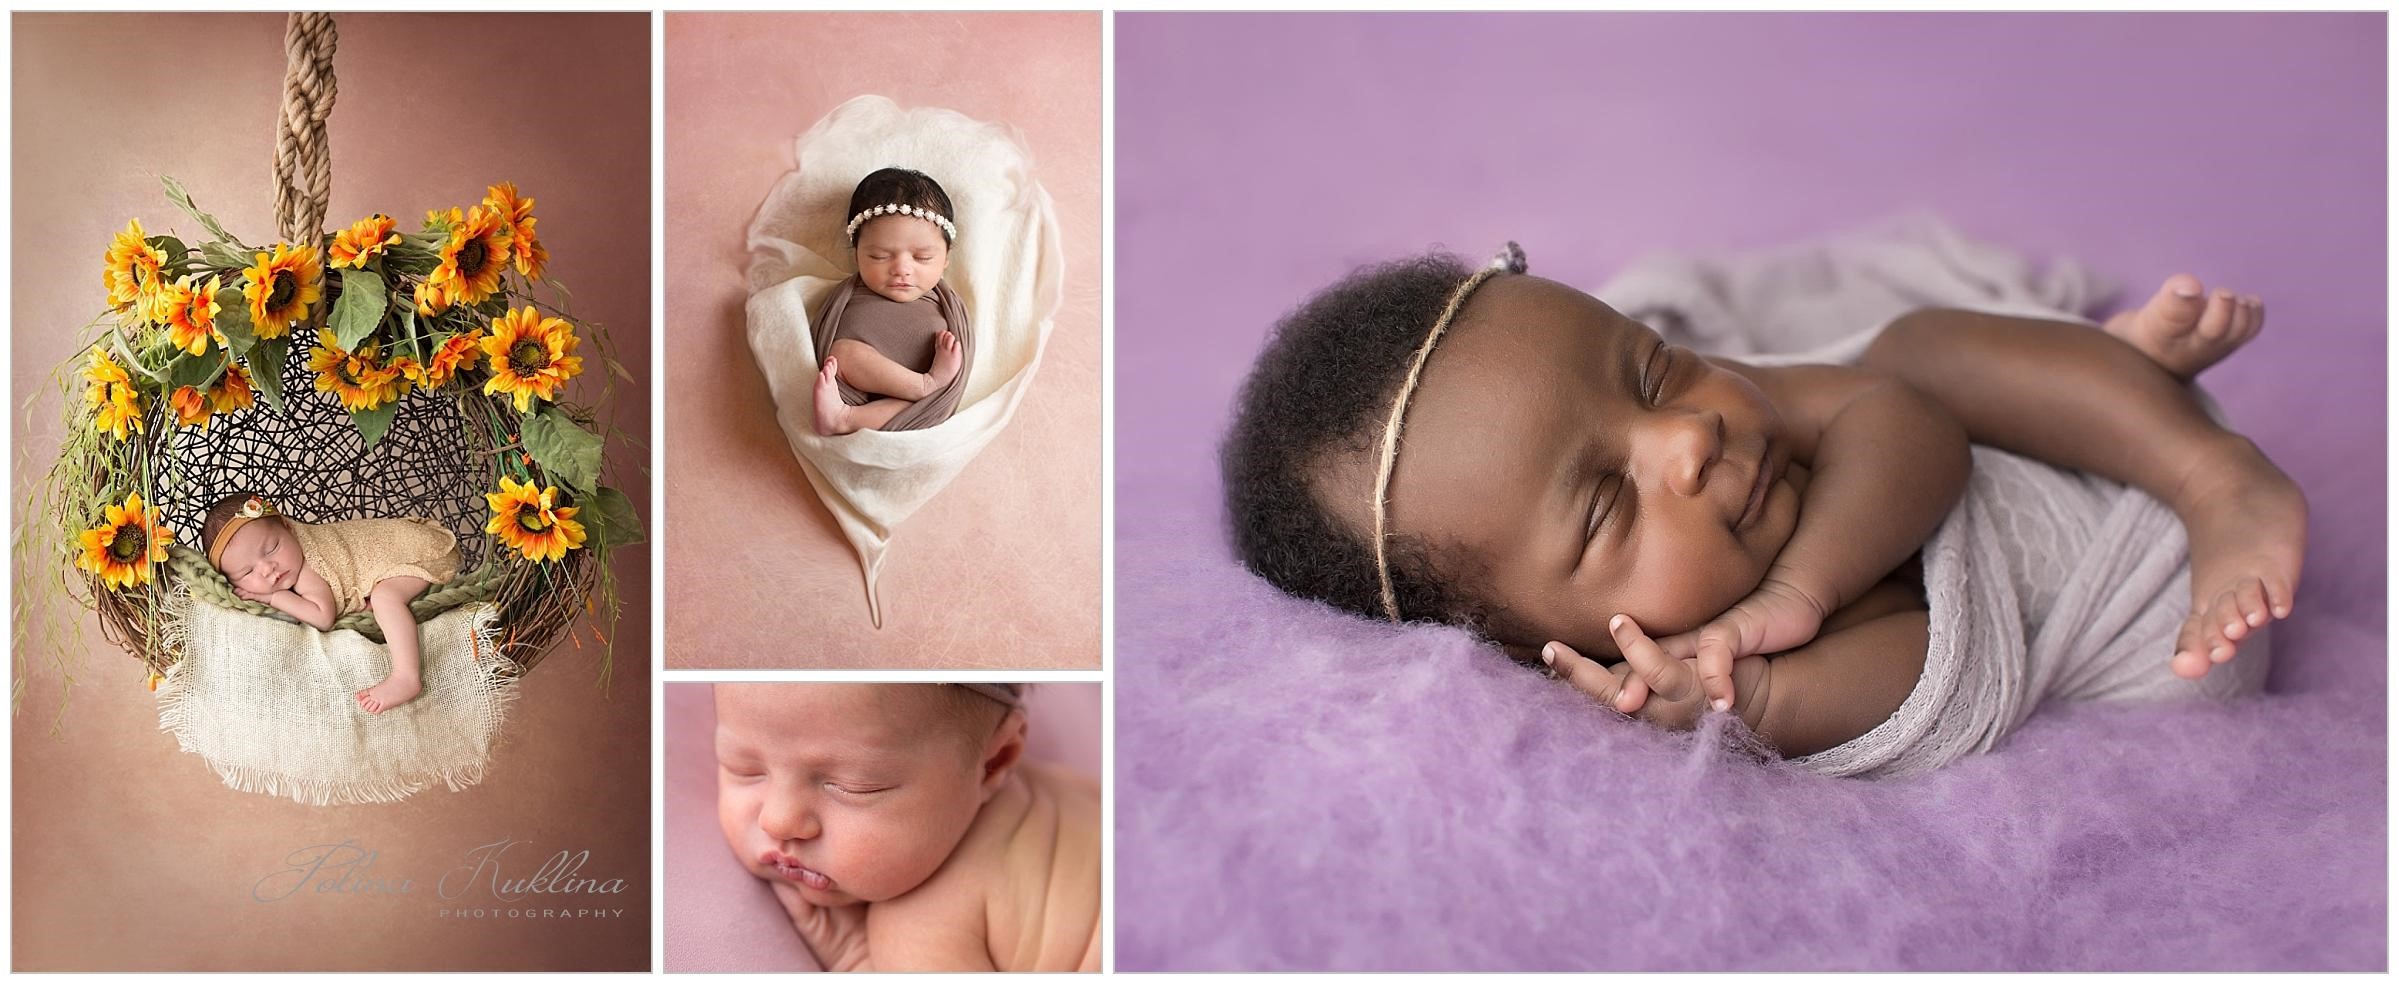
As a newborn photographer, I wrote these tips with newborn babies and young kids in mind but they apply for the most part to any photography: kids, teenagers, even adults.
1. Seek ample light.
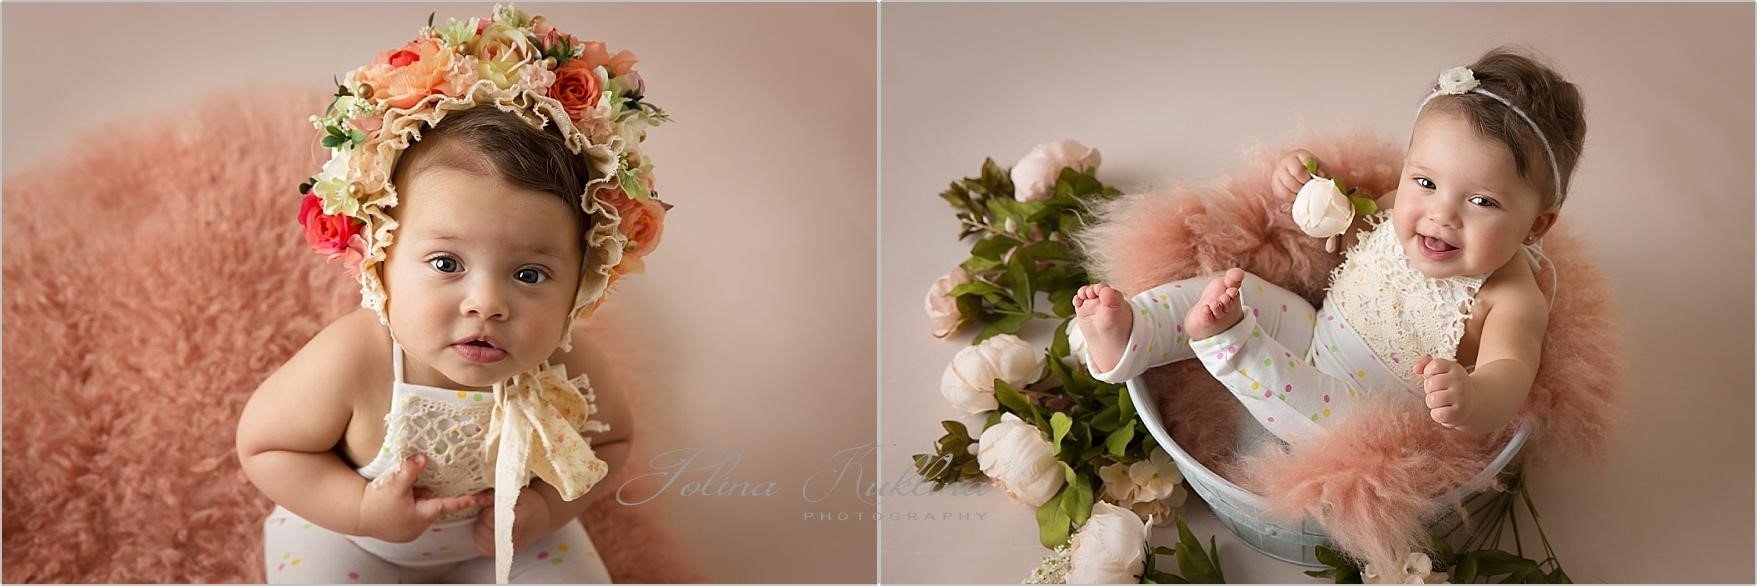
Good photography is all about balancing light. Give your camera too little light and the picture will turn out bleak, blurry and grainy. Give it too much, and the picture will be washed out, contrasty and featureless. Just enough light will keep your picture sharp, colorful and 3D-like.
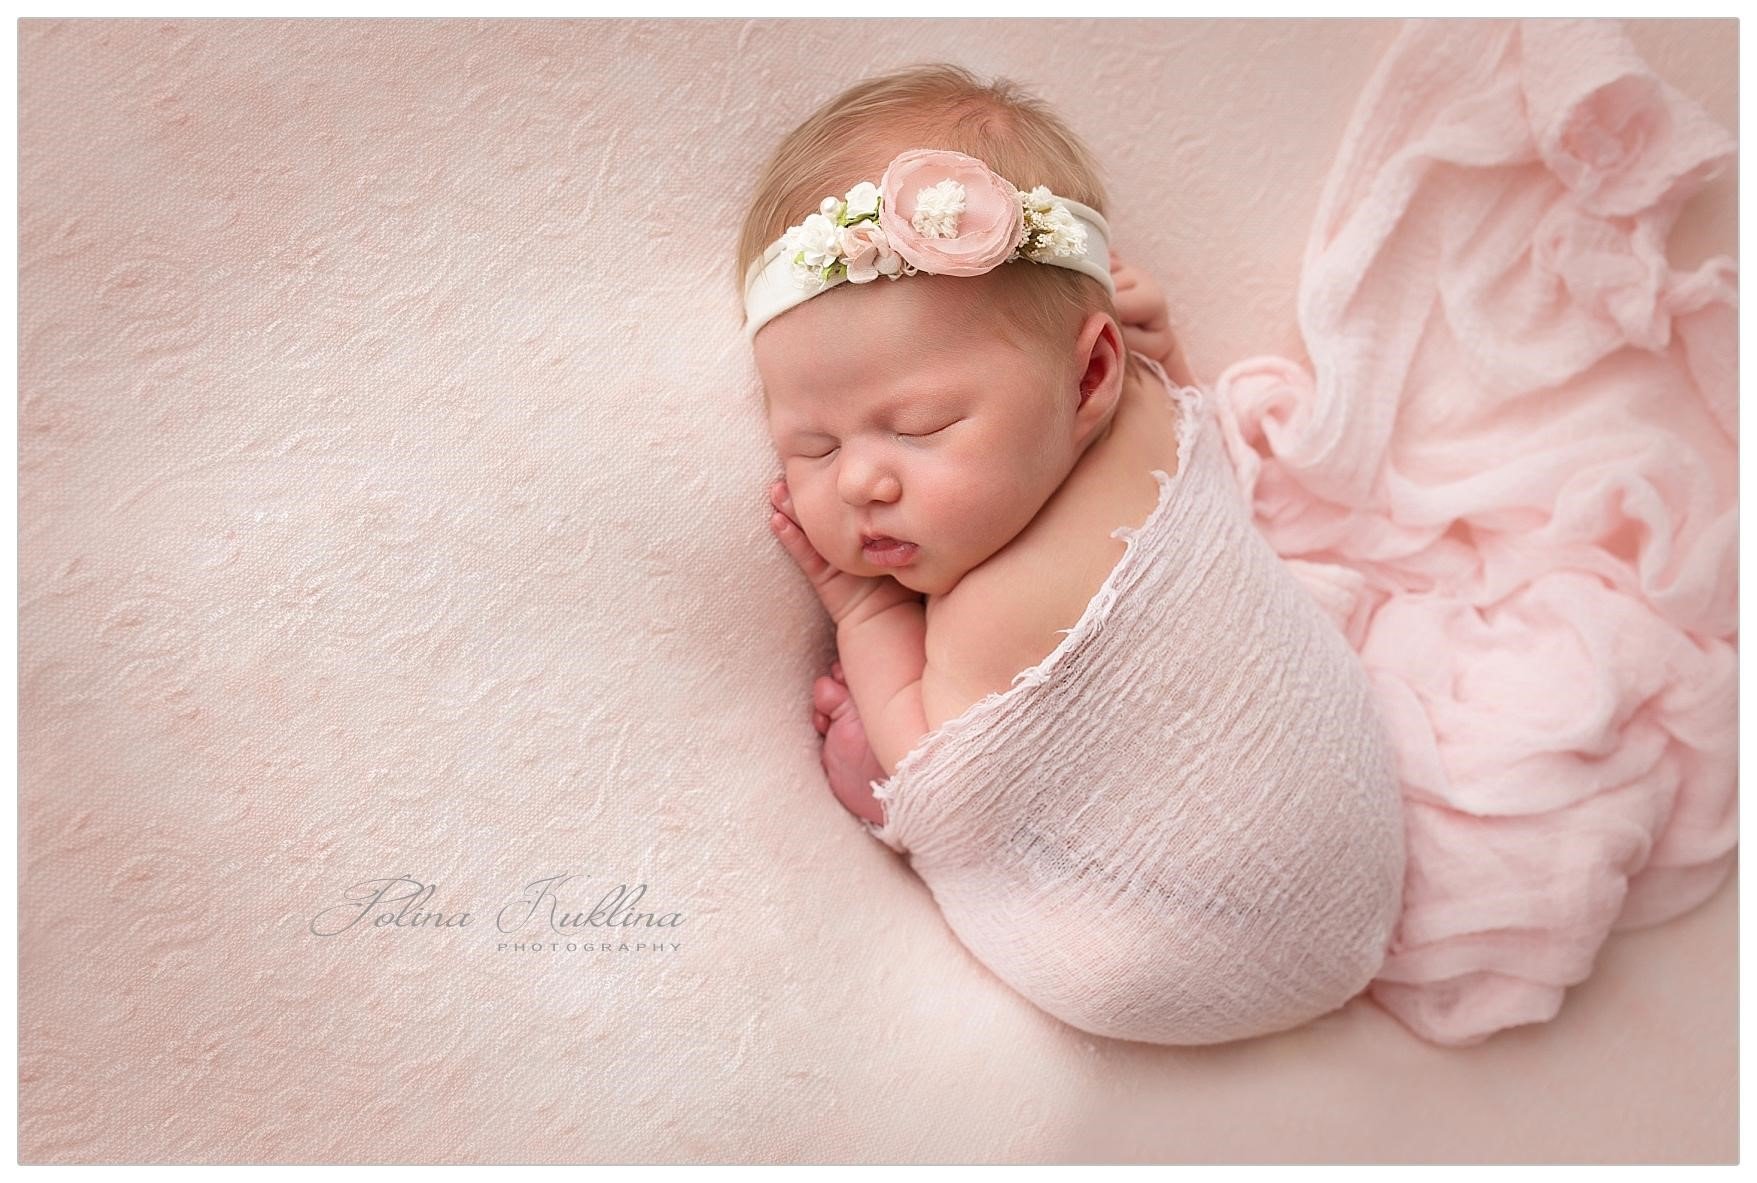
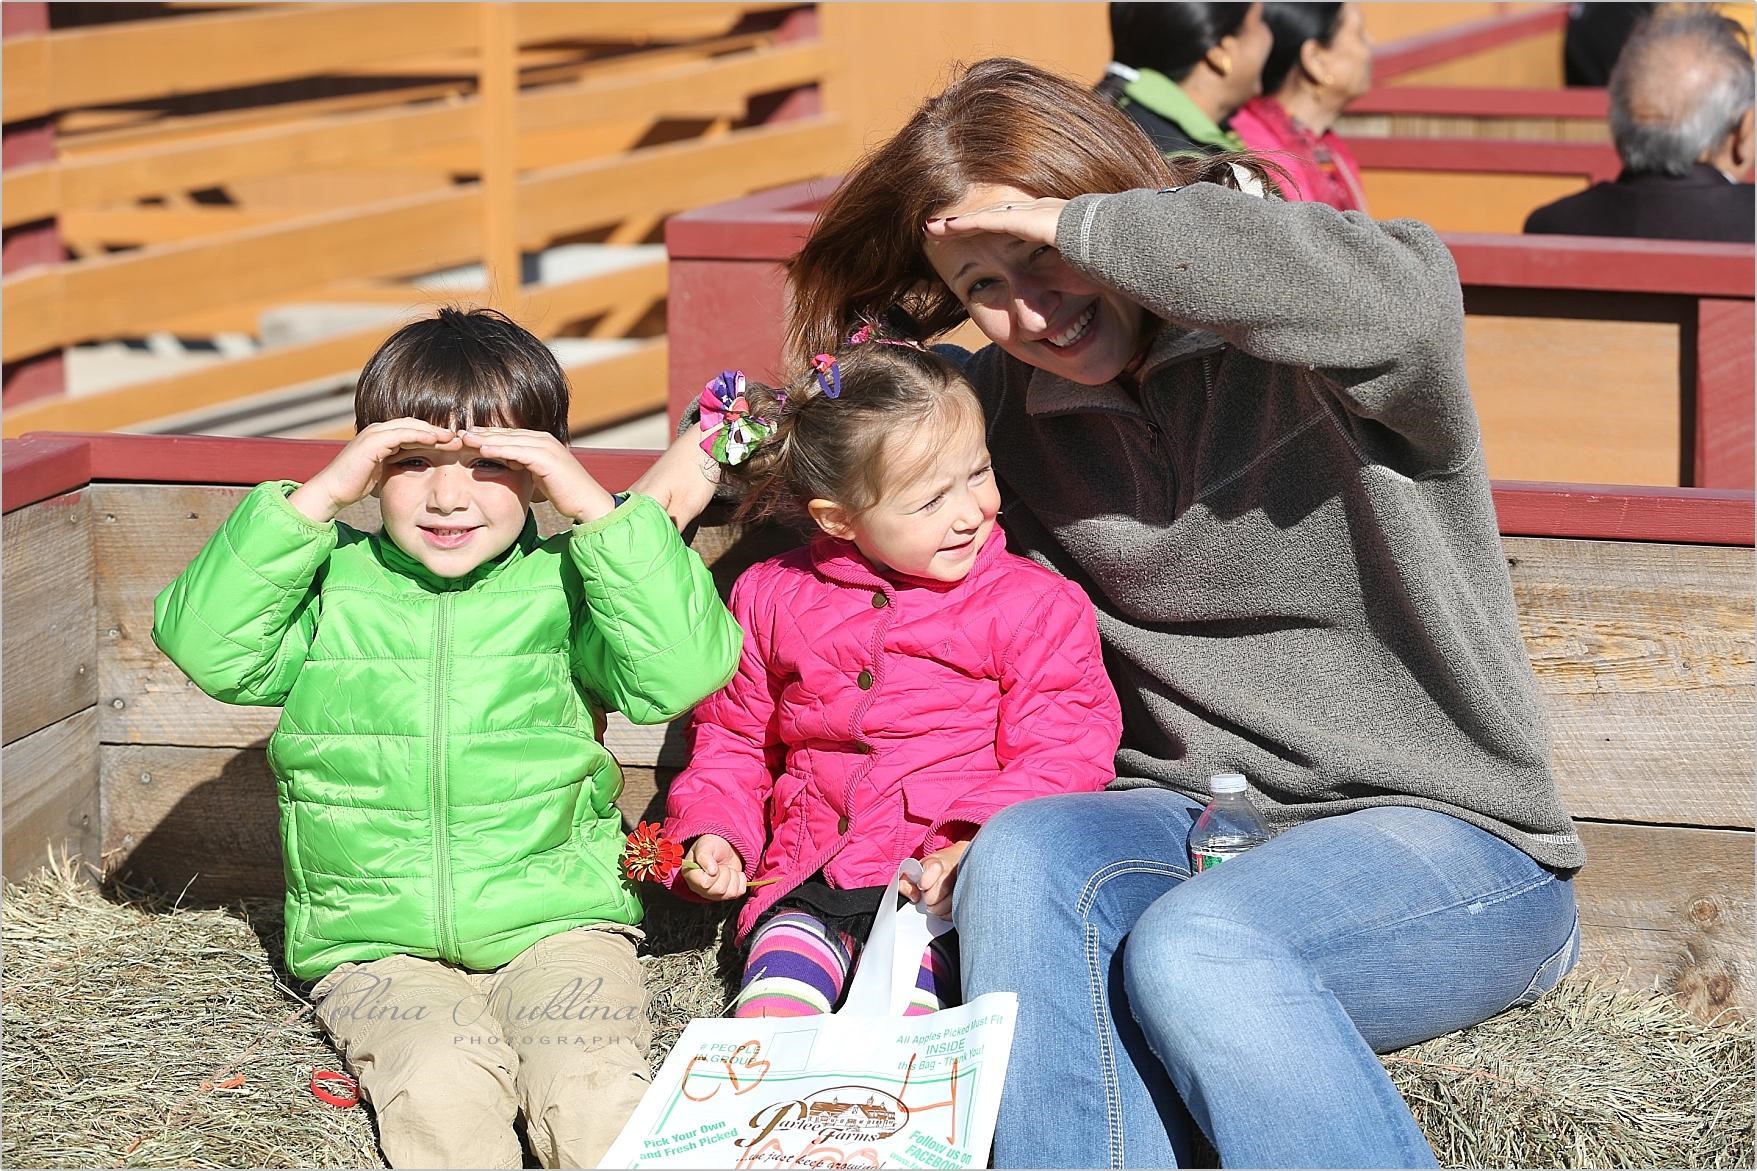
2. Choose soft light and avoid "hot" spots.
Once you think that the camera sees enough light, check the light quality. "Soft" light is the opposite of "harsh" light. An example of "harsh" light is bright, hot, overhead sunlight. Such light will create strong dark shadows under your babies' nose, eyes, even ears. It will also make parts of the face completely white, wiping out features and turning beautiful skin tones into white-hot areas (photographers call it hot-spotting).
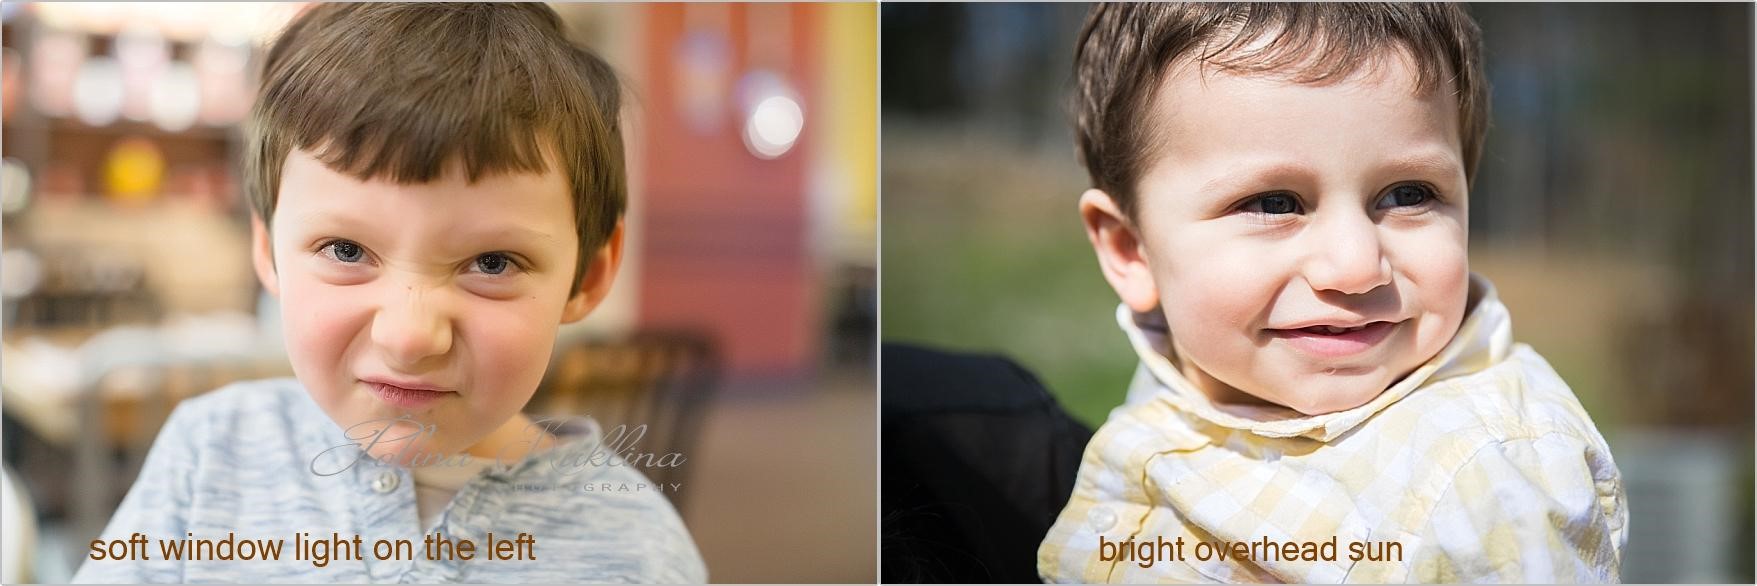
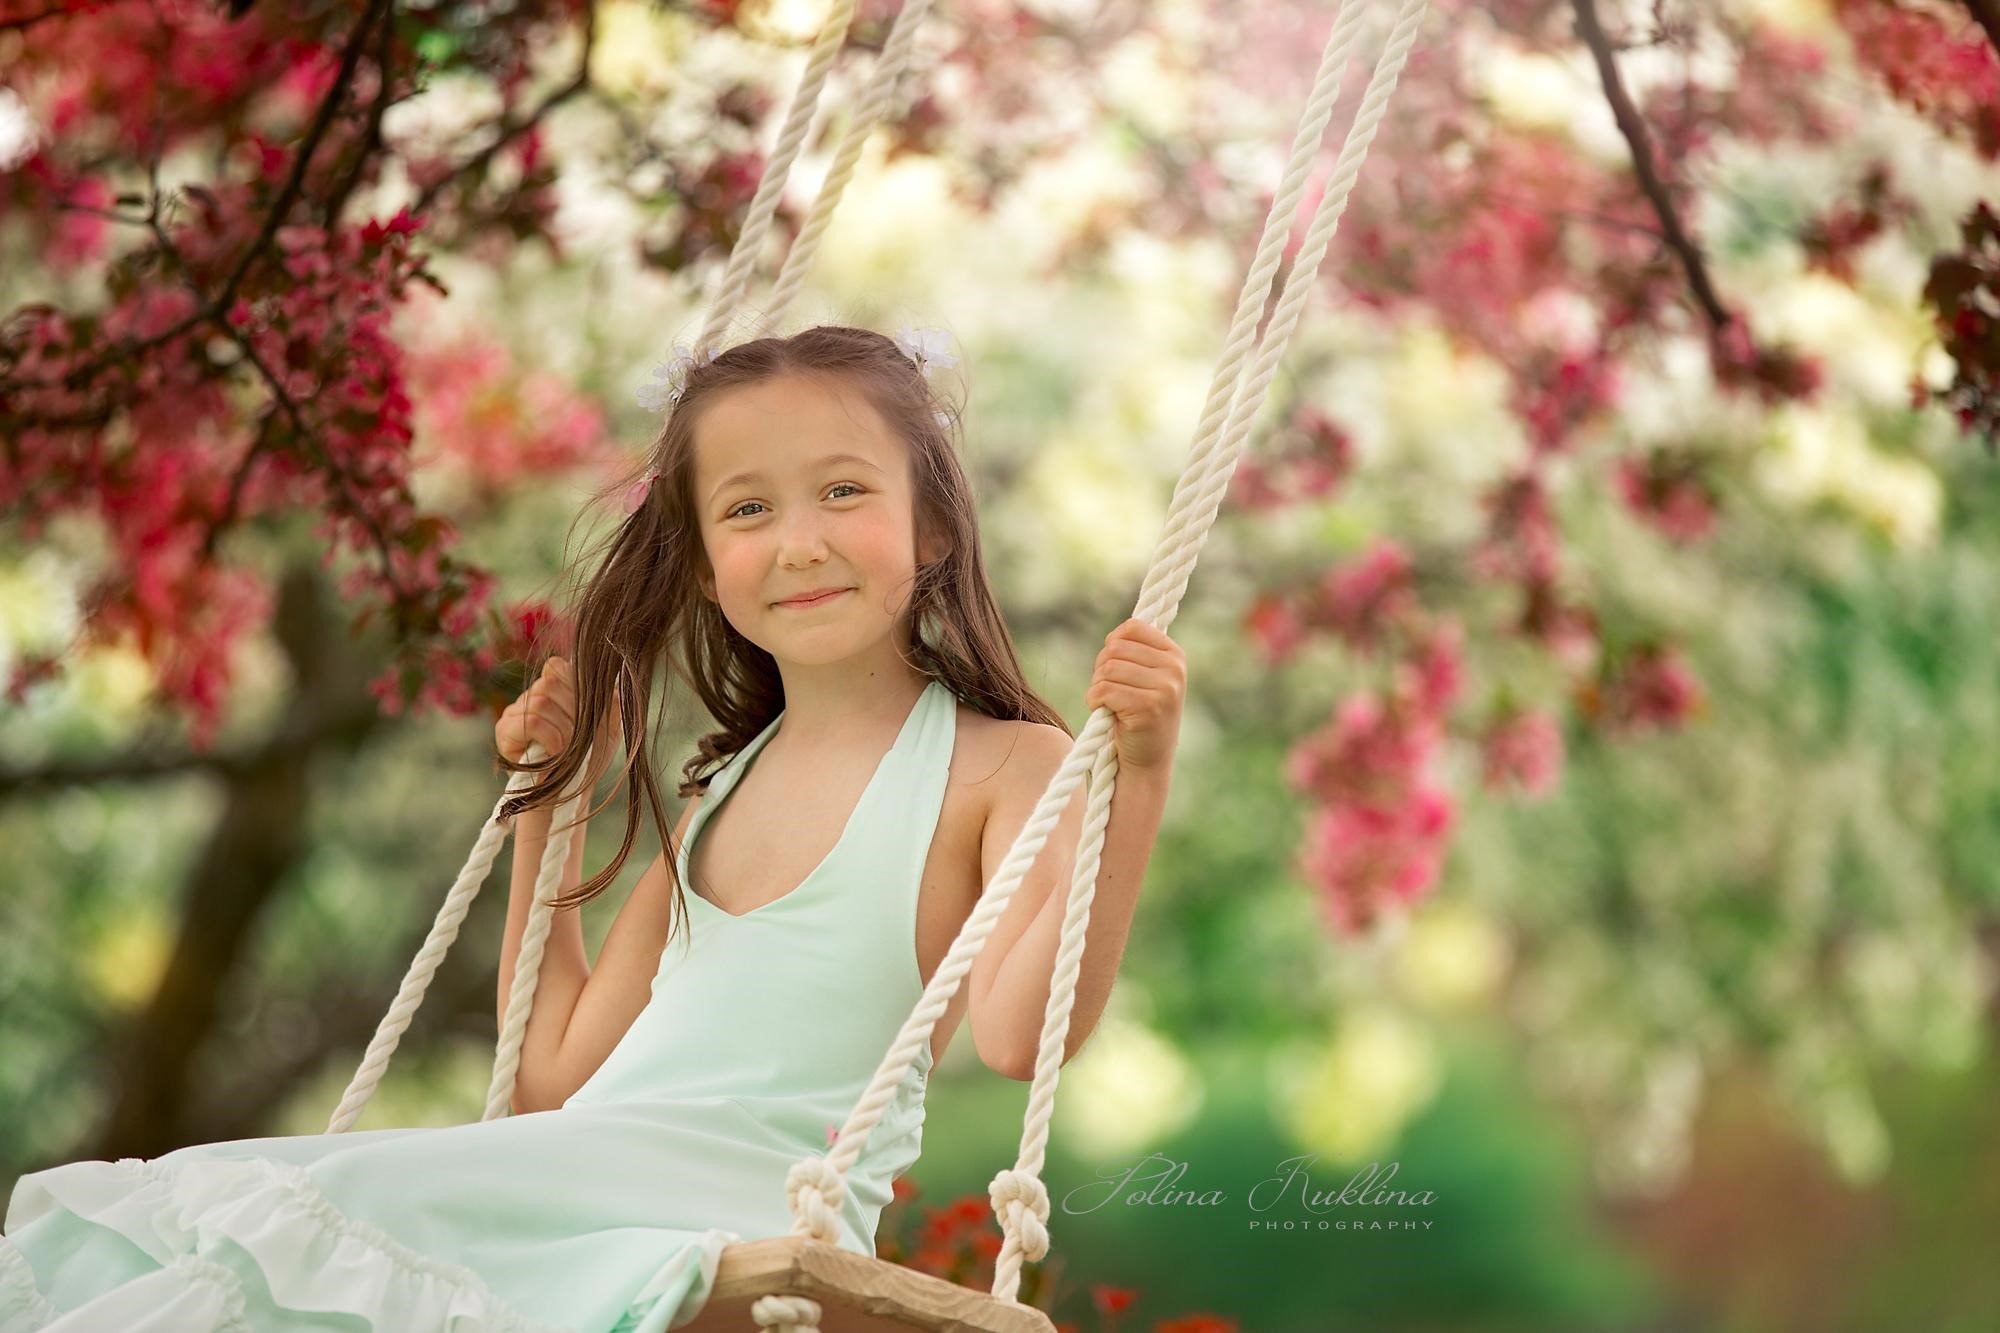
Rule of thumb: the "golden hour" will provide the best light outside. In the middle of the day, try to soften sunlight by finding a shaded or diffusely lit area. To soften sunlight coming in your window, use sheer curtains; they will uniformly diffuse light.
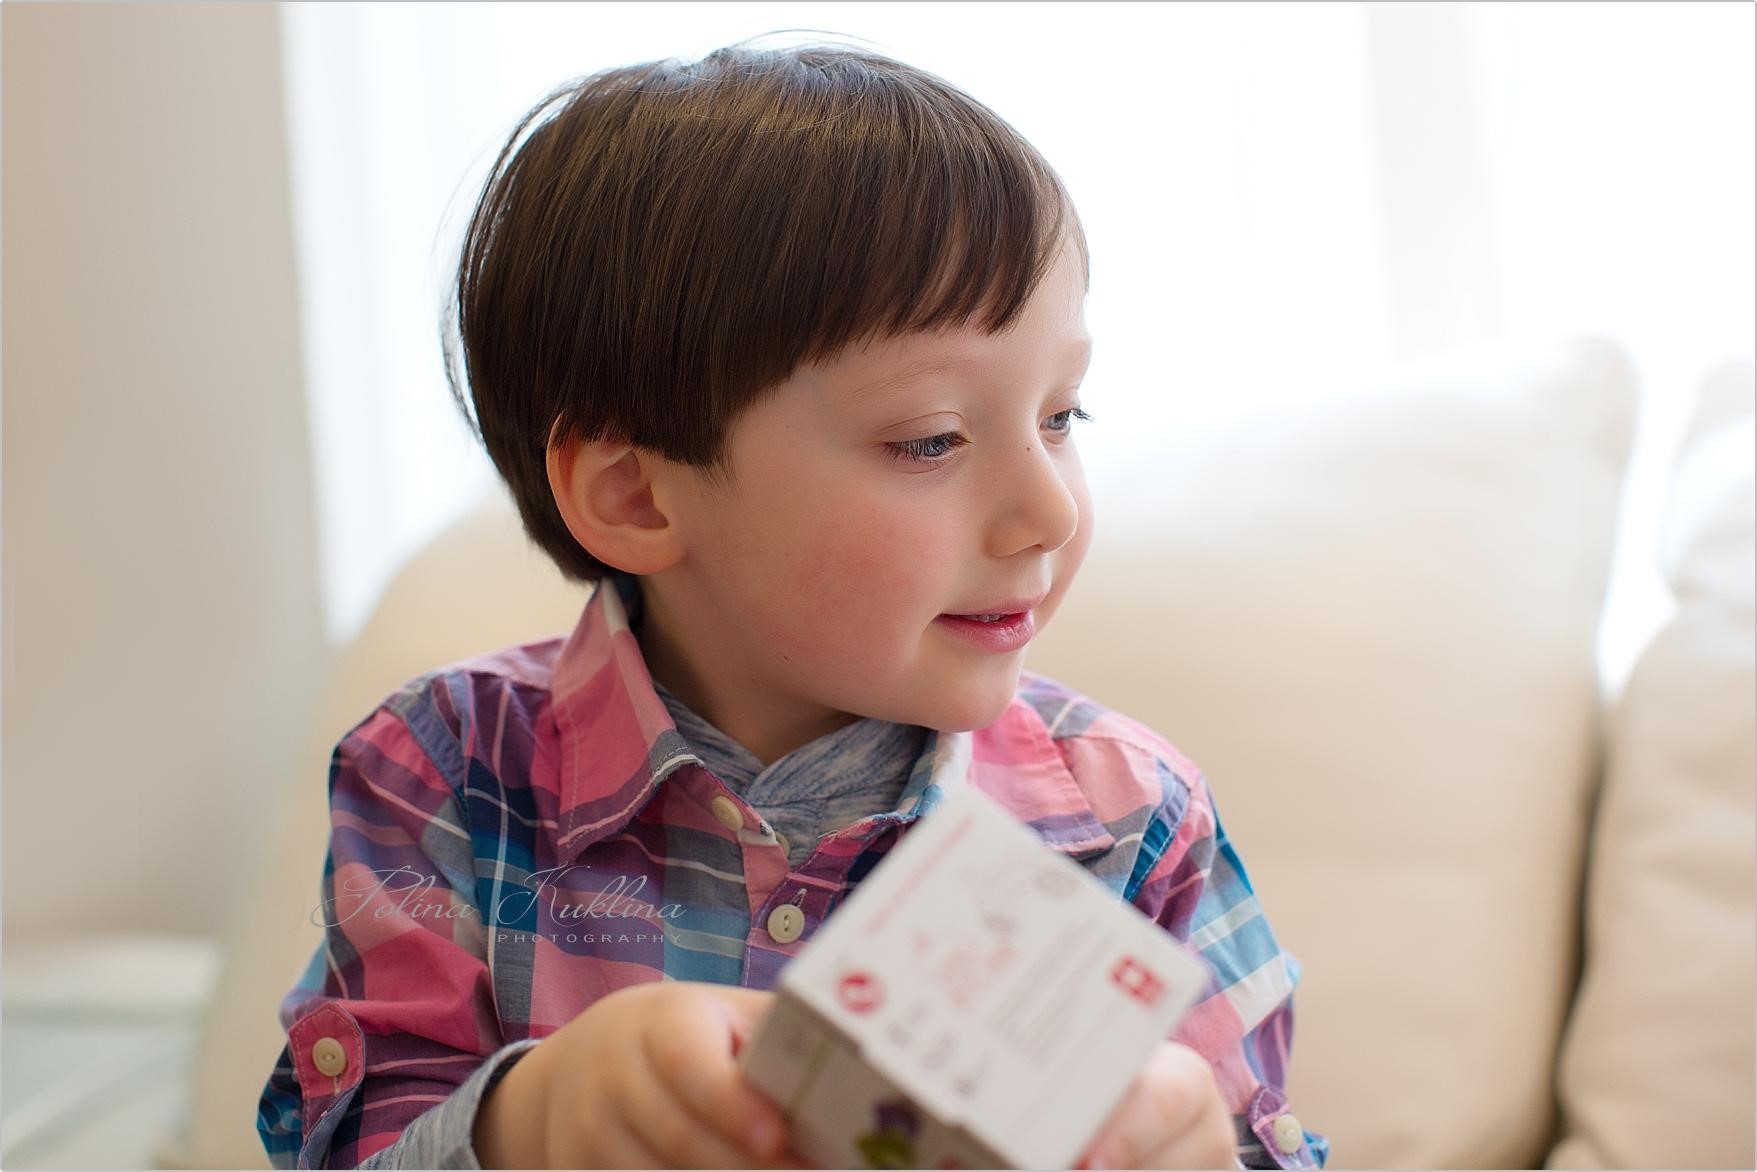
Phone tip: phones collect a lot of fingerprints, which not only muddy optics but also provide surfaces for light to bounce and create flares. Always wipe your phone camera lens before taking a shot.
3. Light your baby naturally: head to toe, not vice versa.
When inside, use as much natural light as possible. As discussed above, artificial light is not enough (unless you use studio equipment) and to capture a great photo you have to use natural light coming into your room and move your subject closer to the window.
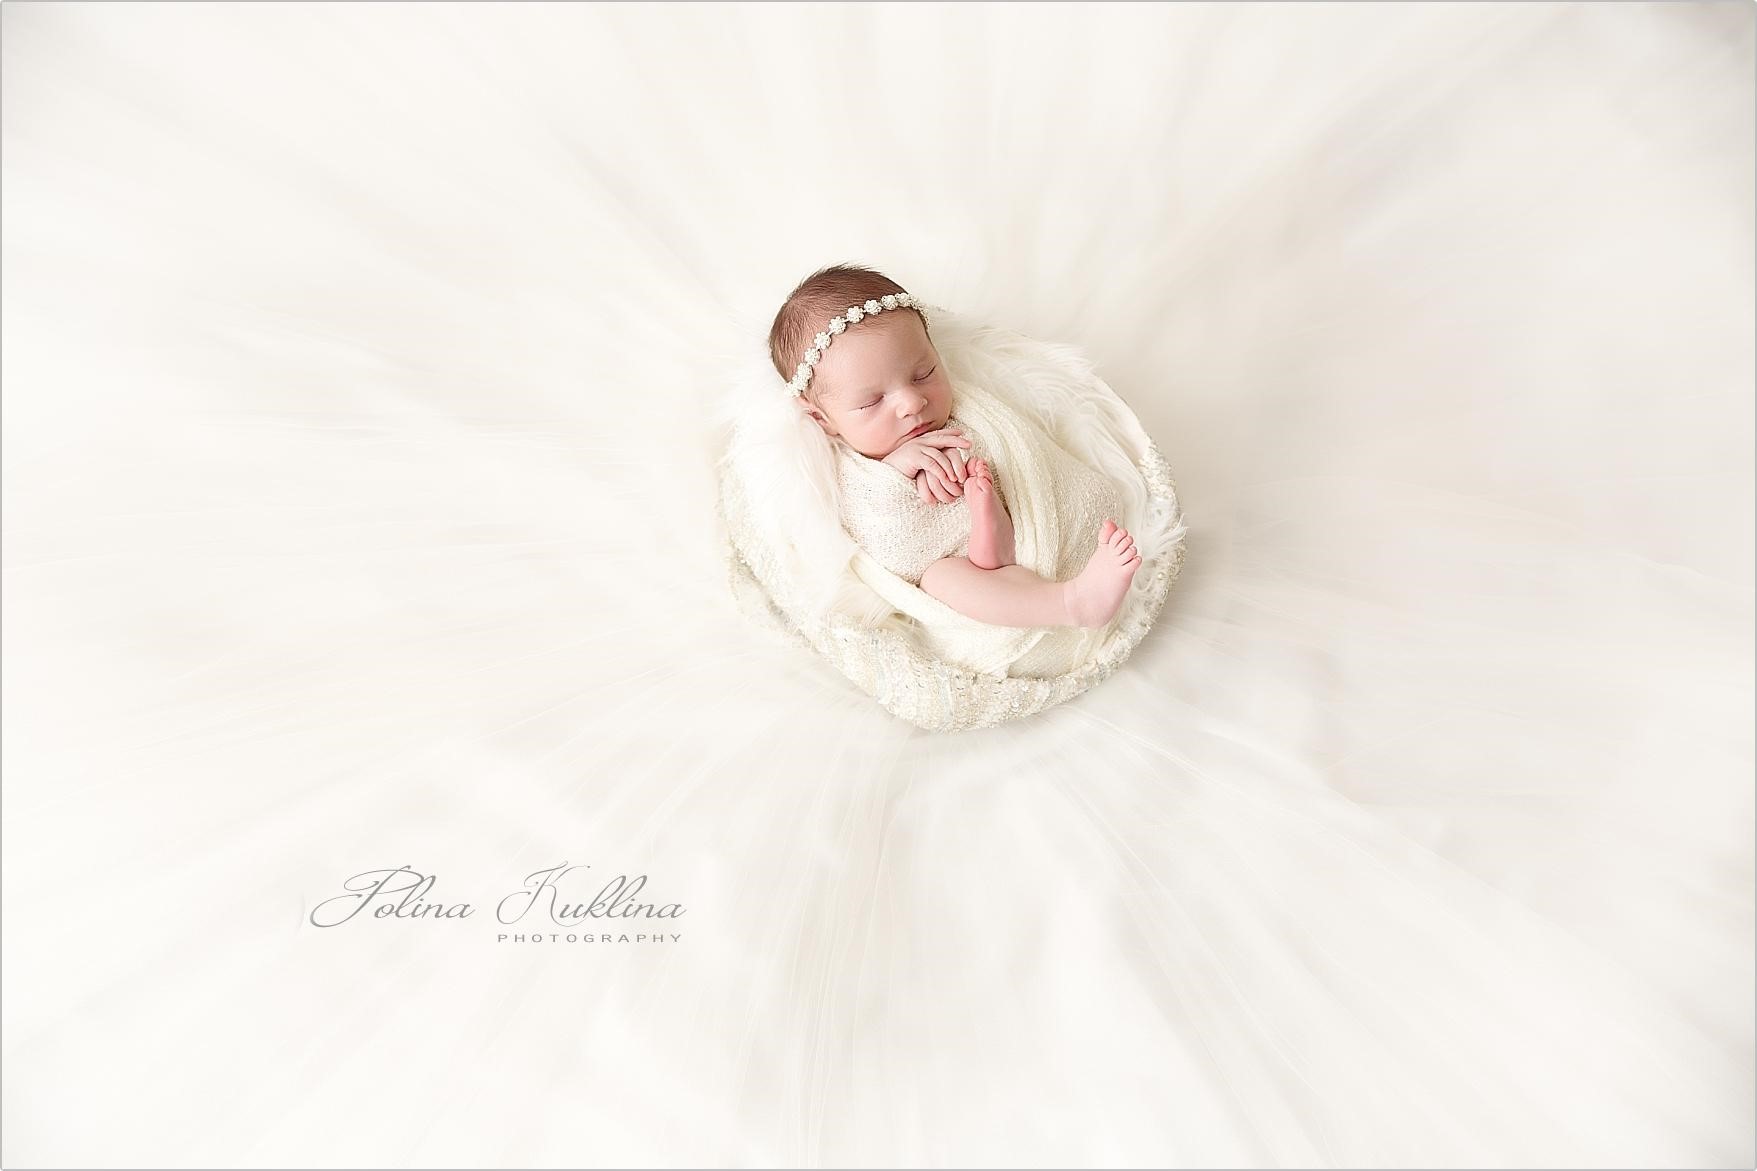
The window is on the left. The light falls from left to right, hits the head first and follows to feet. This baby naps in her mom’s wedding dress.
Make sure that your baby is lit from the head. If they are asleep, position them so that the light first brushes the head and descends to toes. This way shadows and light will help to create a more flattering look. Do not forget to soften light by either diffusing it (sheer curtains) or bouncing it off matte white-ish materials.
4. Shoot a little from above.
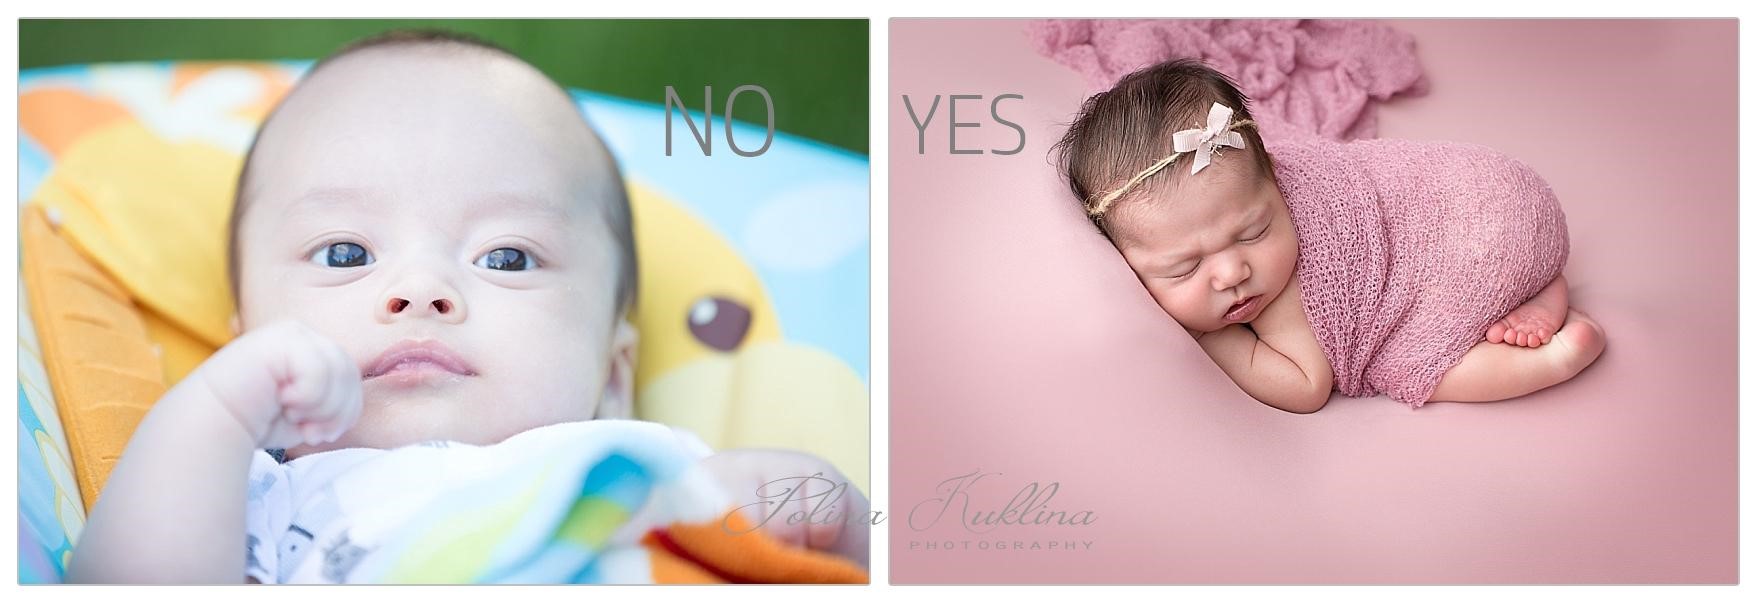
You do not want to showcase the insides of your baby's nostrils. Point your camera above the nose line, so that the nostrils are not visible. Newborn photographers call this the "No holes" rule! For your baby’s safety always wear your camera on a strap while shooting from above.
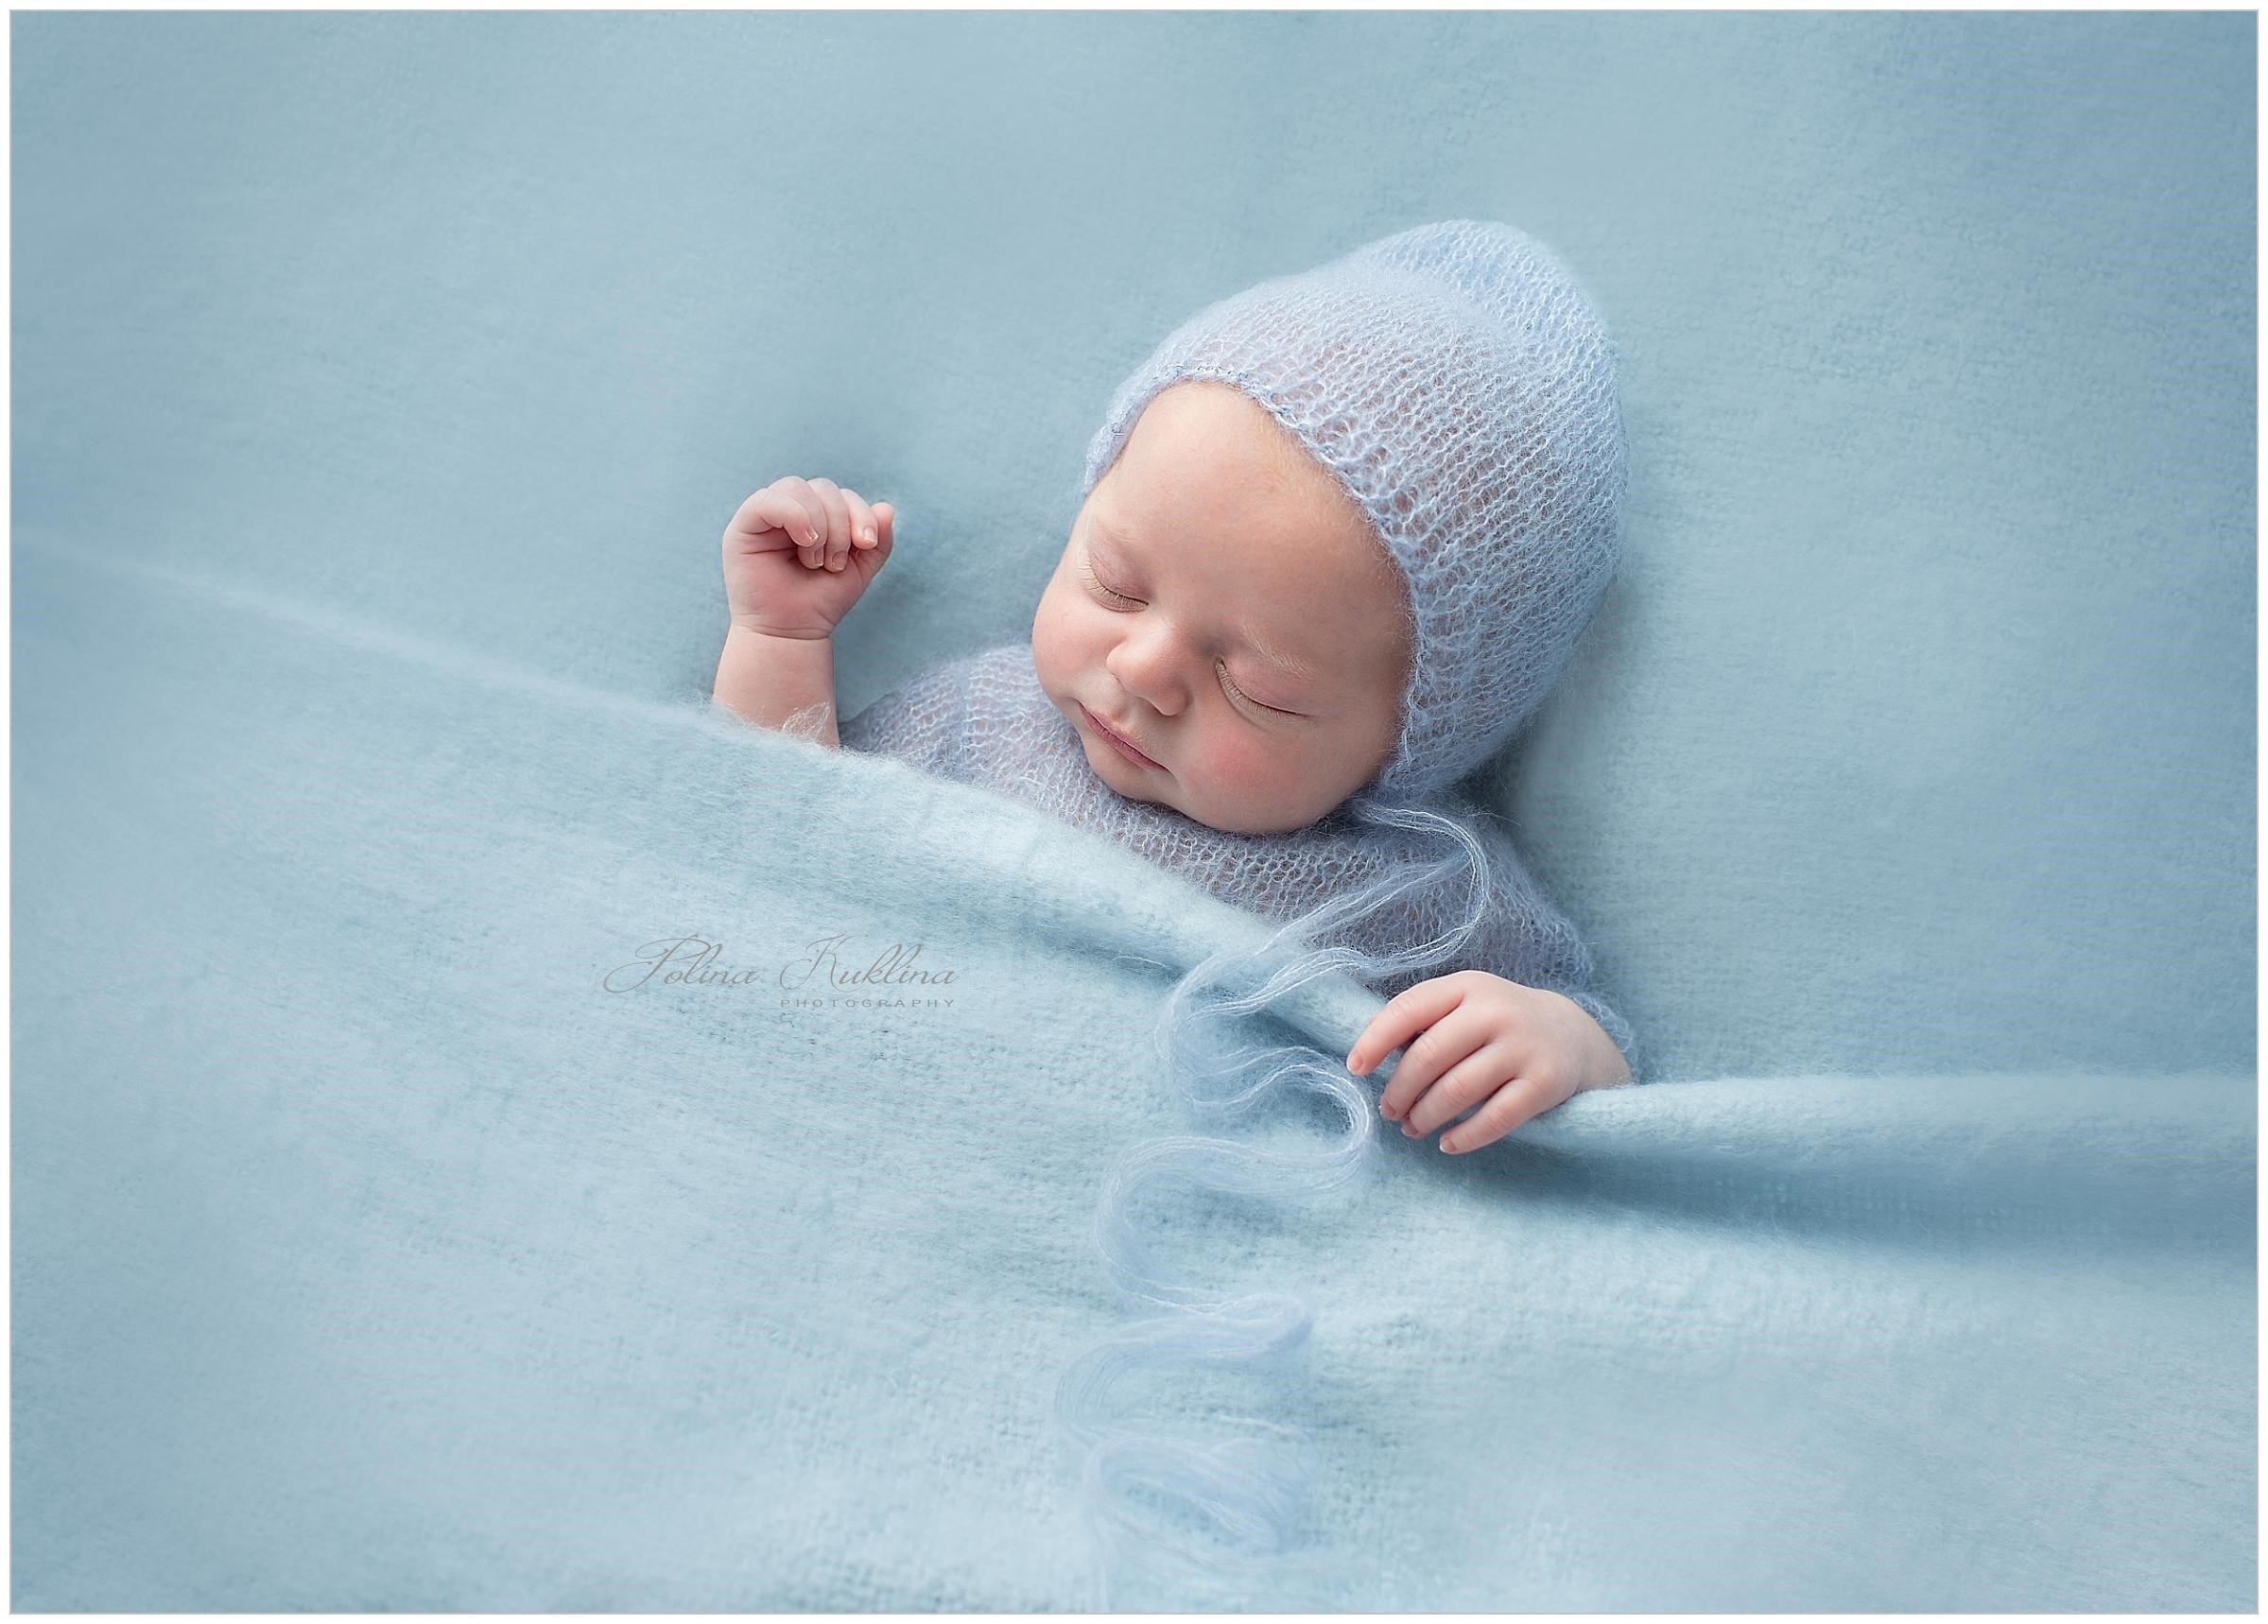
Do you see my nostrils? No? Good!
5. Go macro!
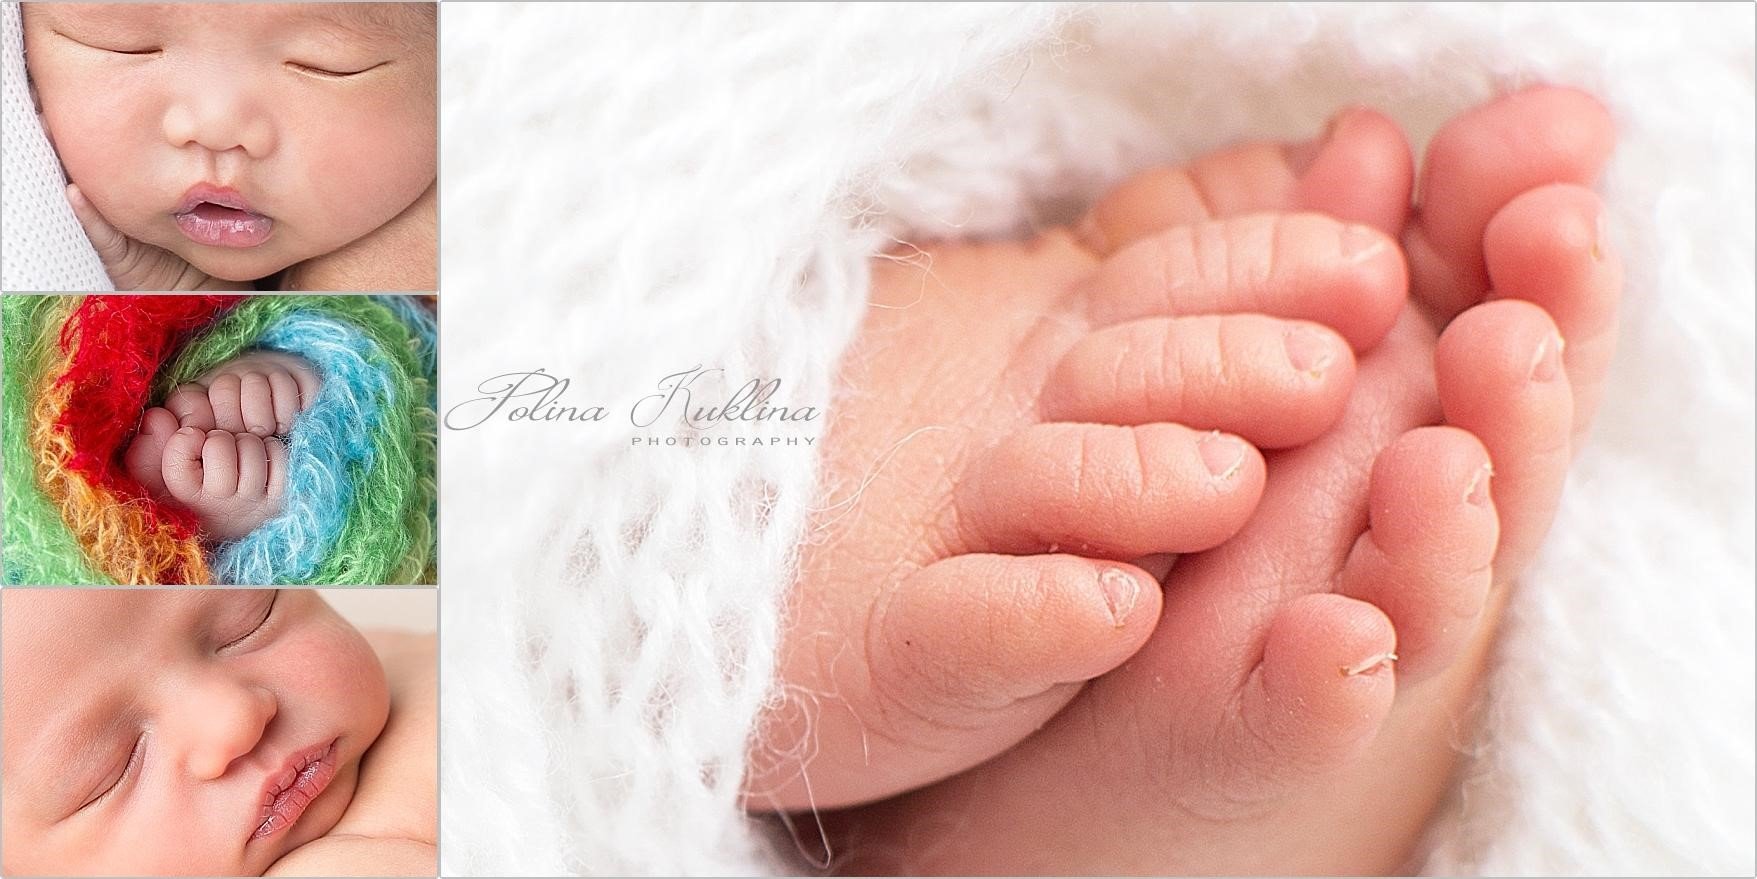
One of the easiest techniques that creates surprisingly good results is macro-photography. Babies have tiny features which show really well in photographs. Tiny hands, little feet with adorable toes, lips blowing raspberries -- are all fair game. You will be so happy looking at those in a few years.
6. The "dark room" is the second part of the magic.
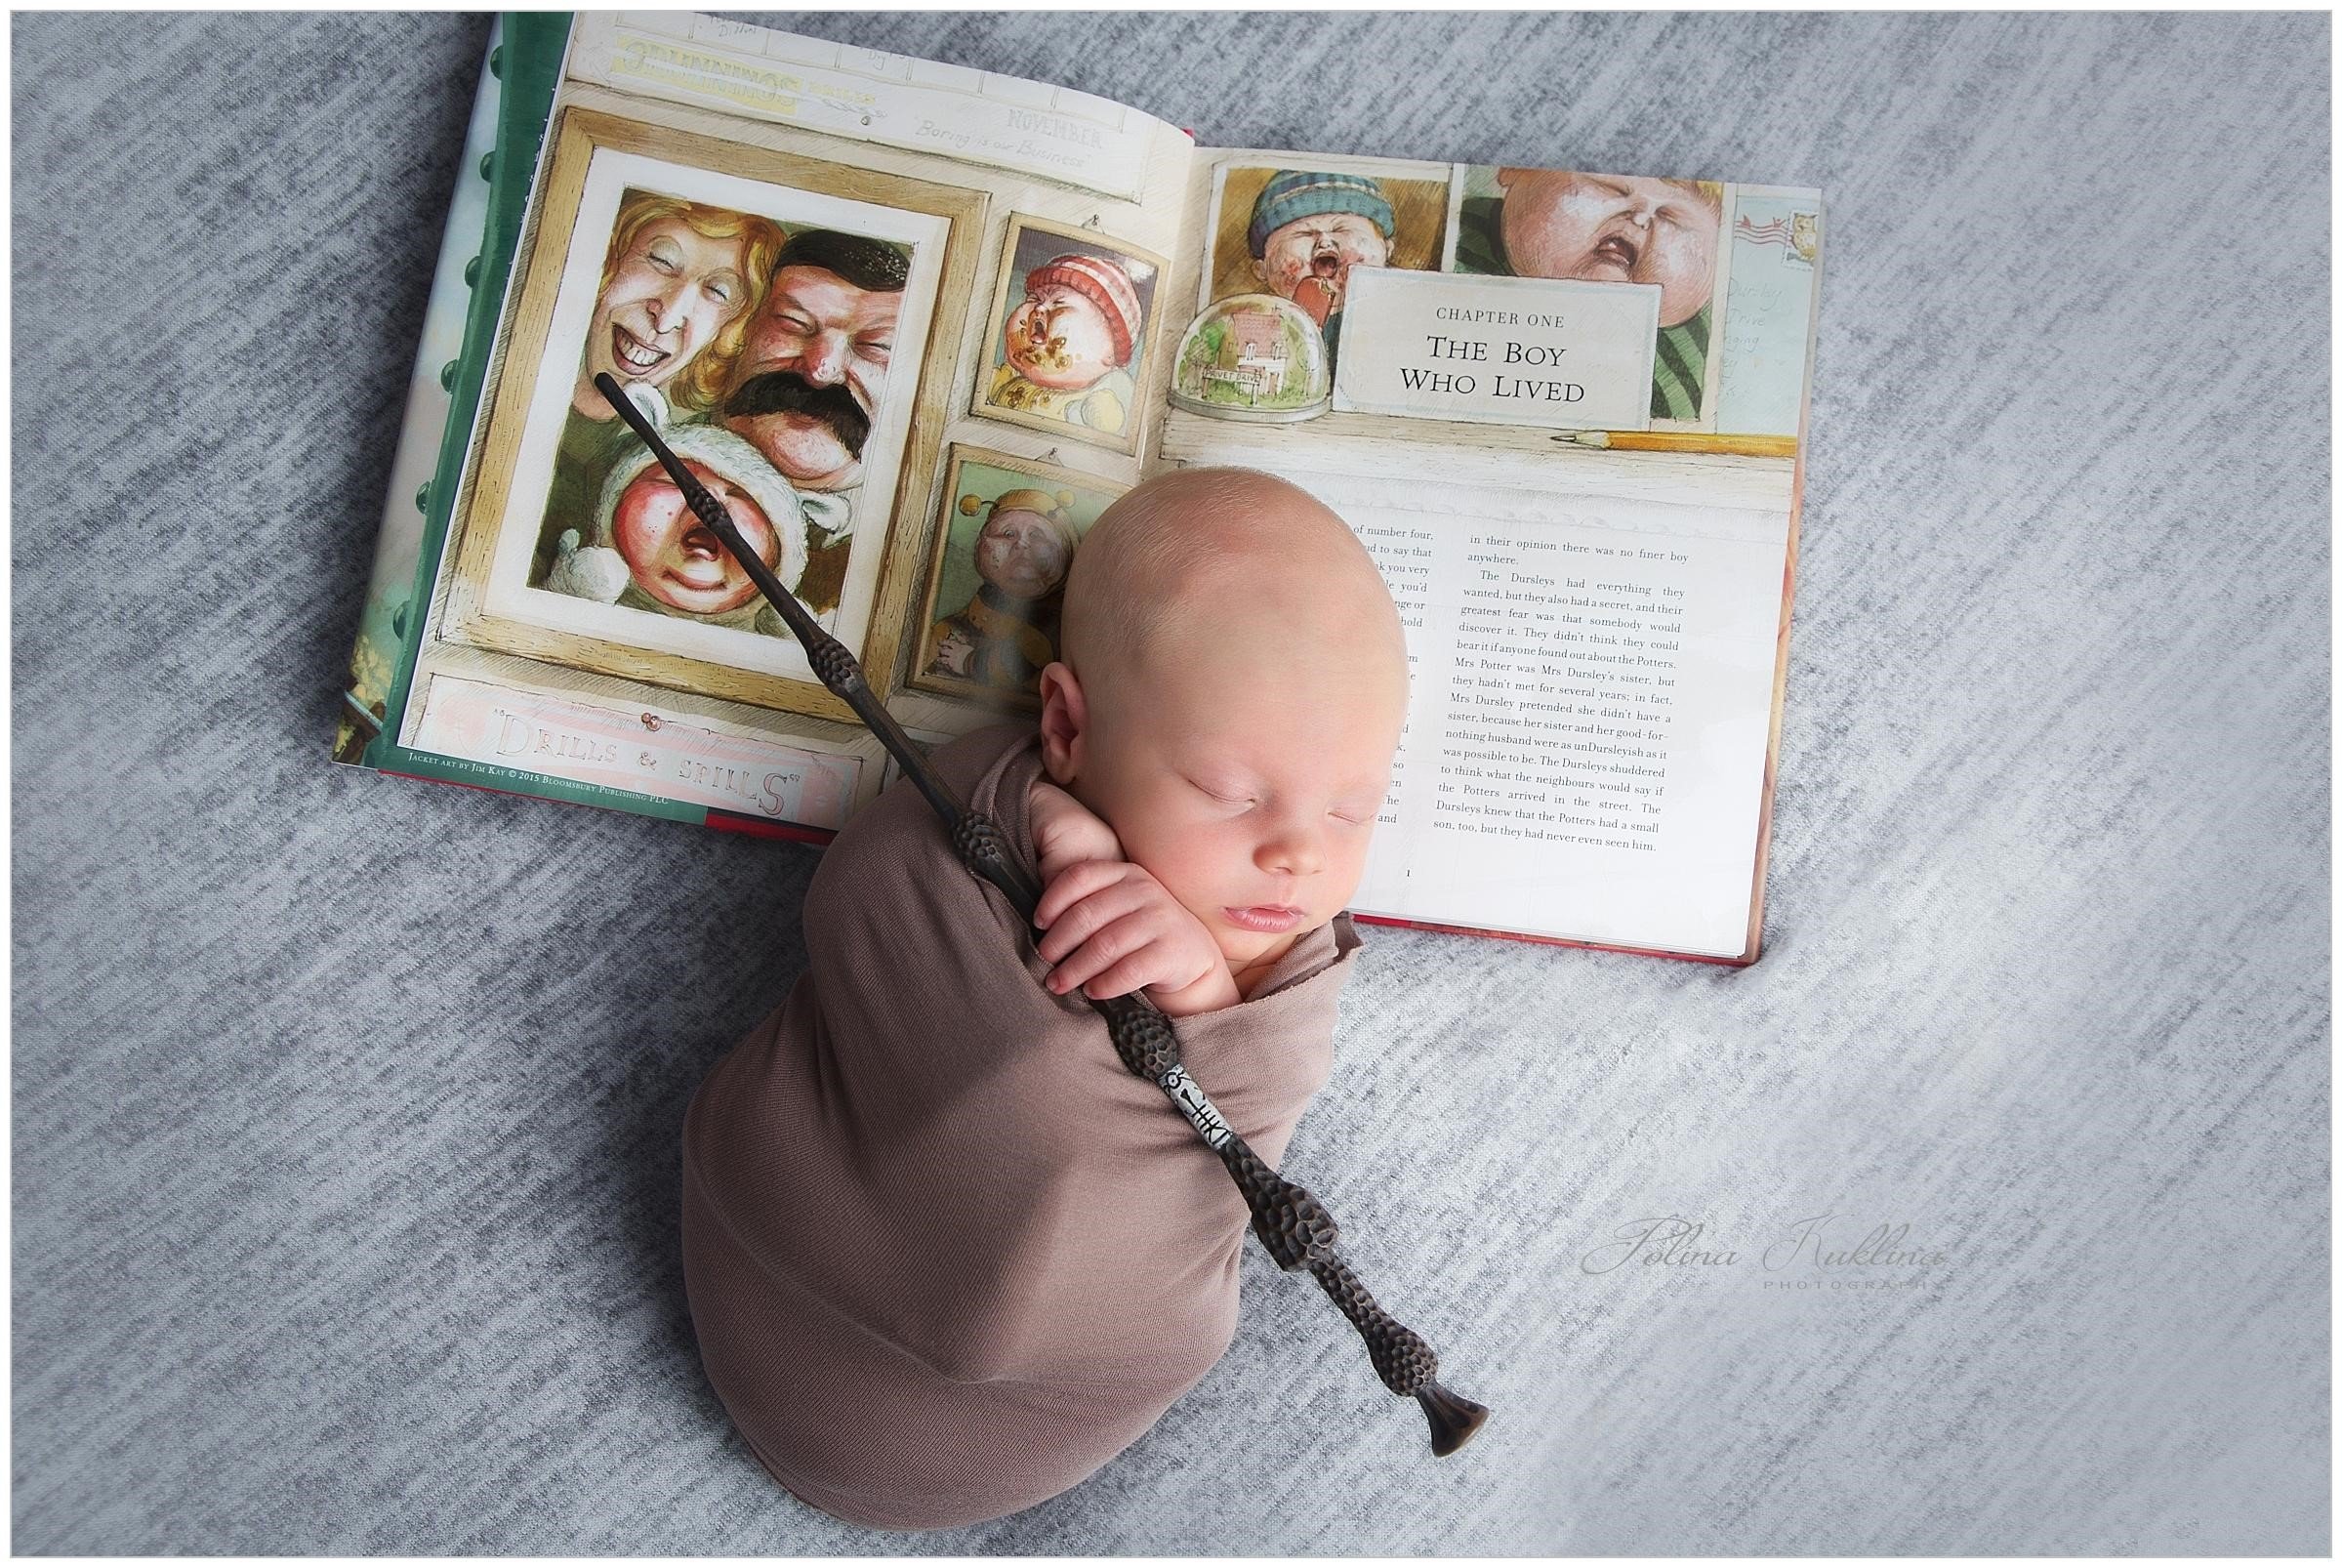
Not to be confused with the "Dark Arts" in the world of Harry Potter, the "dark room" refers to old-fashioned film processing. Everything that happened after the exposure was made -- film processing and photograph developing -- had to be done in darkness to avoid overexposure. Today, when photographers say "dark room" or "post-processing", they mean tweaking the final photograph in Adobe Photoshop or Lightroom.
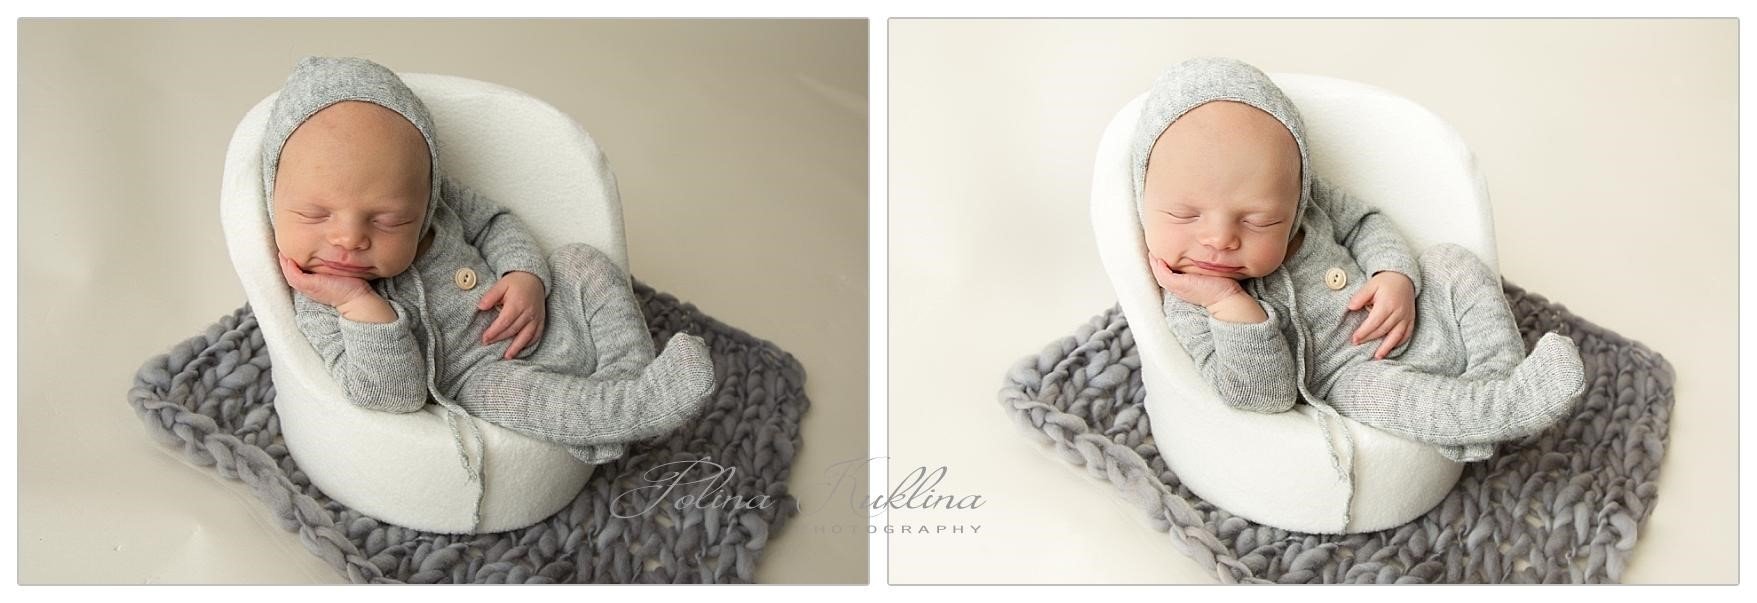
Example of before (left) and after (right)
Once you capture a great moment---you are not done! If you do your photography on an iPhone, download Snapseed (for iOS and Android). This app is wonderful and I wouldn't do it justice in a single paragraph. It is a gem of an app and everyone (yes, really) should have it installed. And best of all, it's absolutely free! I will share a few editing Snapseed workflows in a follow up article.
7. Safety first!
This tip is specific to newborns. Newborns are totally and unbelievably cute and amazing and I love them all.
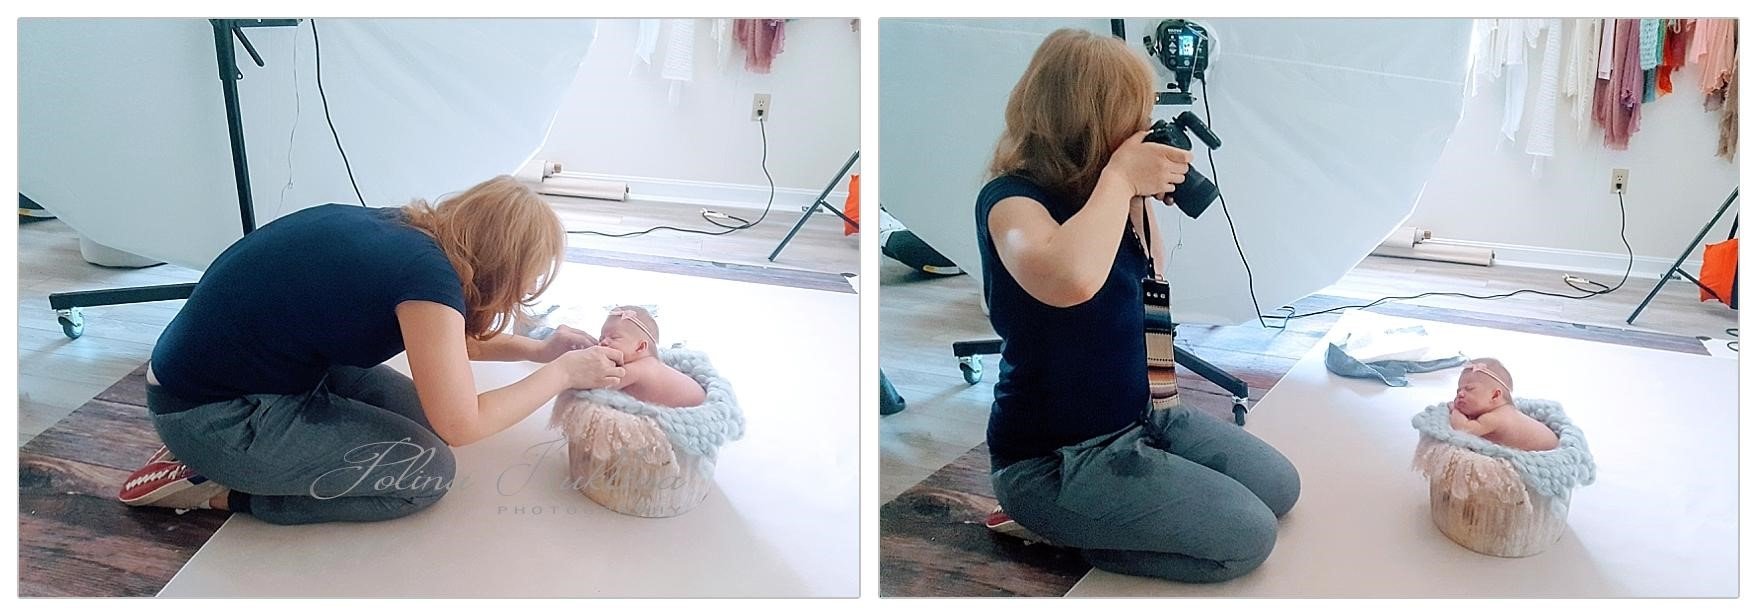
The internet is full of beautiful newborn pictures, and sometimes moms feel the urge to recreate one or more. I know I did! And this is why I want to close with the most important tip: safety first! Posing your precious little baby for a specific shot can be trickier than it seems. Sometimes I spend 15-20 minutes to get the perfect pose. Many of the pictures required helping hands from a spotter or assistant and a lot of poses are carefully composited in Photoshop, since they required multiple shots.

Examples of composited images
Rule of thumb: when photographing your little one, always make sure the baby is comfortable, relaxed, and safe! Wear your camera on a strap in case it slips. If you want a specific pose or theme, reach out to your local newborn photographer and chat with them.
Happy Snapping!
Polina
Polina Kuklina is a professional photographer specializing in newborn, maternity and young child studio photography. Her studio is located in Westford.
Polina Kuklina Photography
175 Littleton Rd, Unit 2
Westford MA 01886
(508) 265-8269
Website: http://www.polina.pictures
Email form: http://www.polina.pictures/contact.html
Facebook page: https://www.facebook.com/polinakuklinaphoto
